Adobe Lightroom Preset Pack
Adobe Lightroom Preset Pack
Regularly, I am asked about lens filters, editing techniques and color profiles.
This Adobe Lightroom preset pack contains 13 presets that I have personally created to cater to various subjects and lighting scenarios that I find in front of my camera regularly.
Presets are great starting points to build off of during the editing process.
*Image results will vary upon camera exposure & white balance settings.*
How to install:
Desktop
Open Lightroom Classic CC
Open the File tab in the top left corner of your screen
Click “Import Develop Profiles and Presets”
Find the downloaded presets in the ‘Downloads’ folder
Select ’ TSPresets.zip ’
Your new Lightroom presets will be found in the Develop module
Mobile
Download the preset pack from the purchase confirmation email.
Press the Download Button in the upper right corner of Safari to access the zip folder. It will now open in Files.
Open The Zip folder and the Mobile folder will appear.
Enter the Mobile folder.
Save all Images to your camera roll
In your camera roll, they will appear as striped images.
(You will need to download Adobe Lightroom CC in the App store and create an account.)
Import the DNG files as photos into the Lightroom app.
1.1 Open the Lightroom CC app, in the bottom right corner, press the Blue Import Button.1.2. Import the new ‘striped’ images from your camera roll.
1.3. The files should now be visible in ’all photos’ In the Lightroom app.
Import the presets.
2.1. Select the photo.
2.2. In the upper right corner, press the circle with three dots.2.3. Select ‘Create Preset’
2.4. Optional - press ’preset group’ and select ’create new preset group’. Name the group ’Taylor Stoffers Preset Pack’
2.5. Set the preset name to the name of the file, e.g. ‘TSPM1’
2.6. Check all boxes.
2.7. Press the check in the upper right corner.
2.8. Repeat the procedure for all other imported images. Instead of creating a new preset group, select ’Taylor Stoffers Preset Pack’.Your presets are now imported.
Using the presets.
4.1. Import a photo you want to edit.
4.2. In the bottom bar, swipe to the far right and you will find Presets.
4.3. Select your preset choice.
4.4. Since no image is the same, minimal light and color adjustments are recommended.
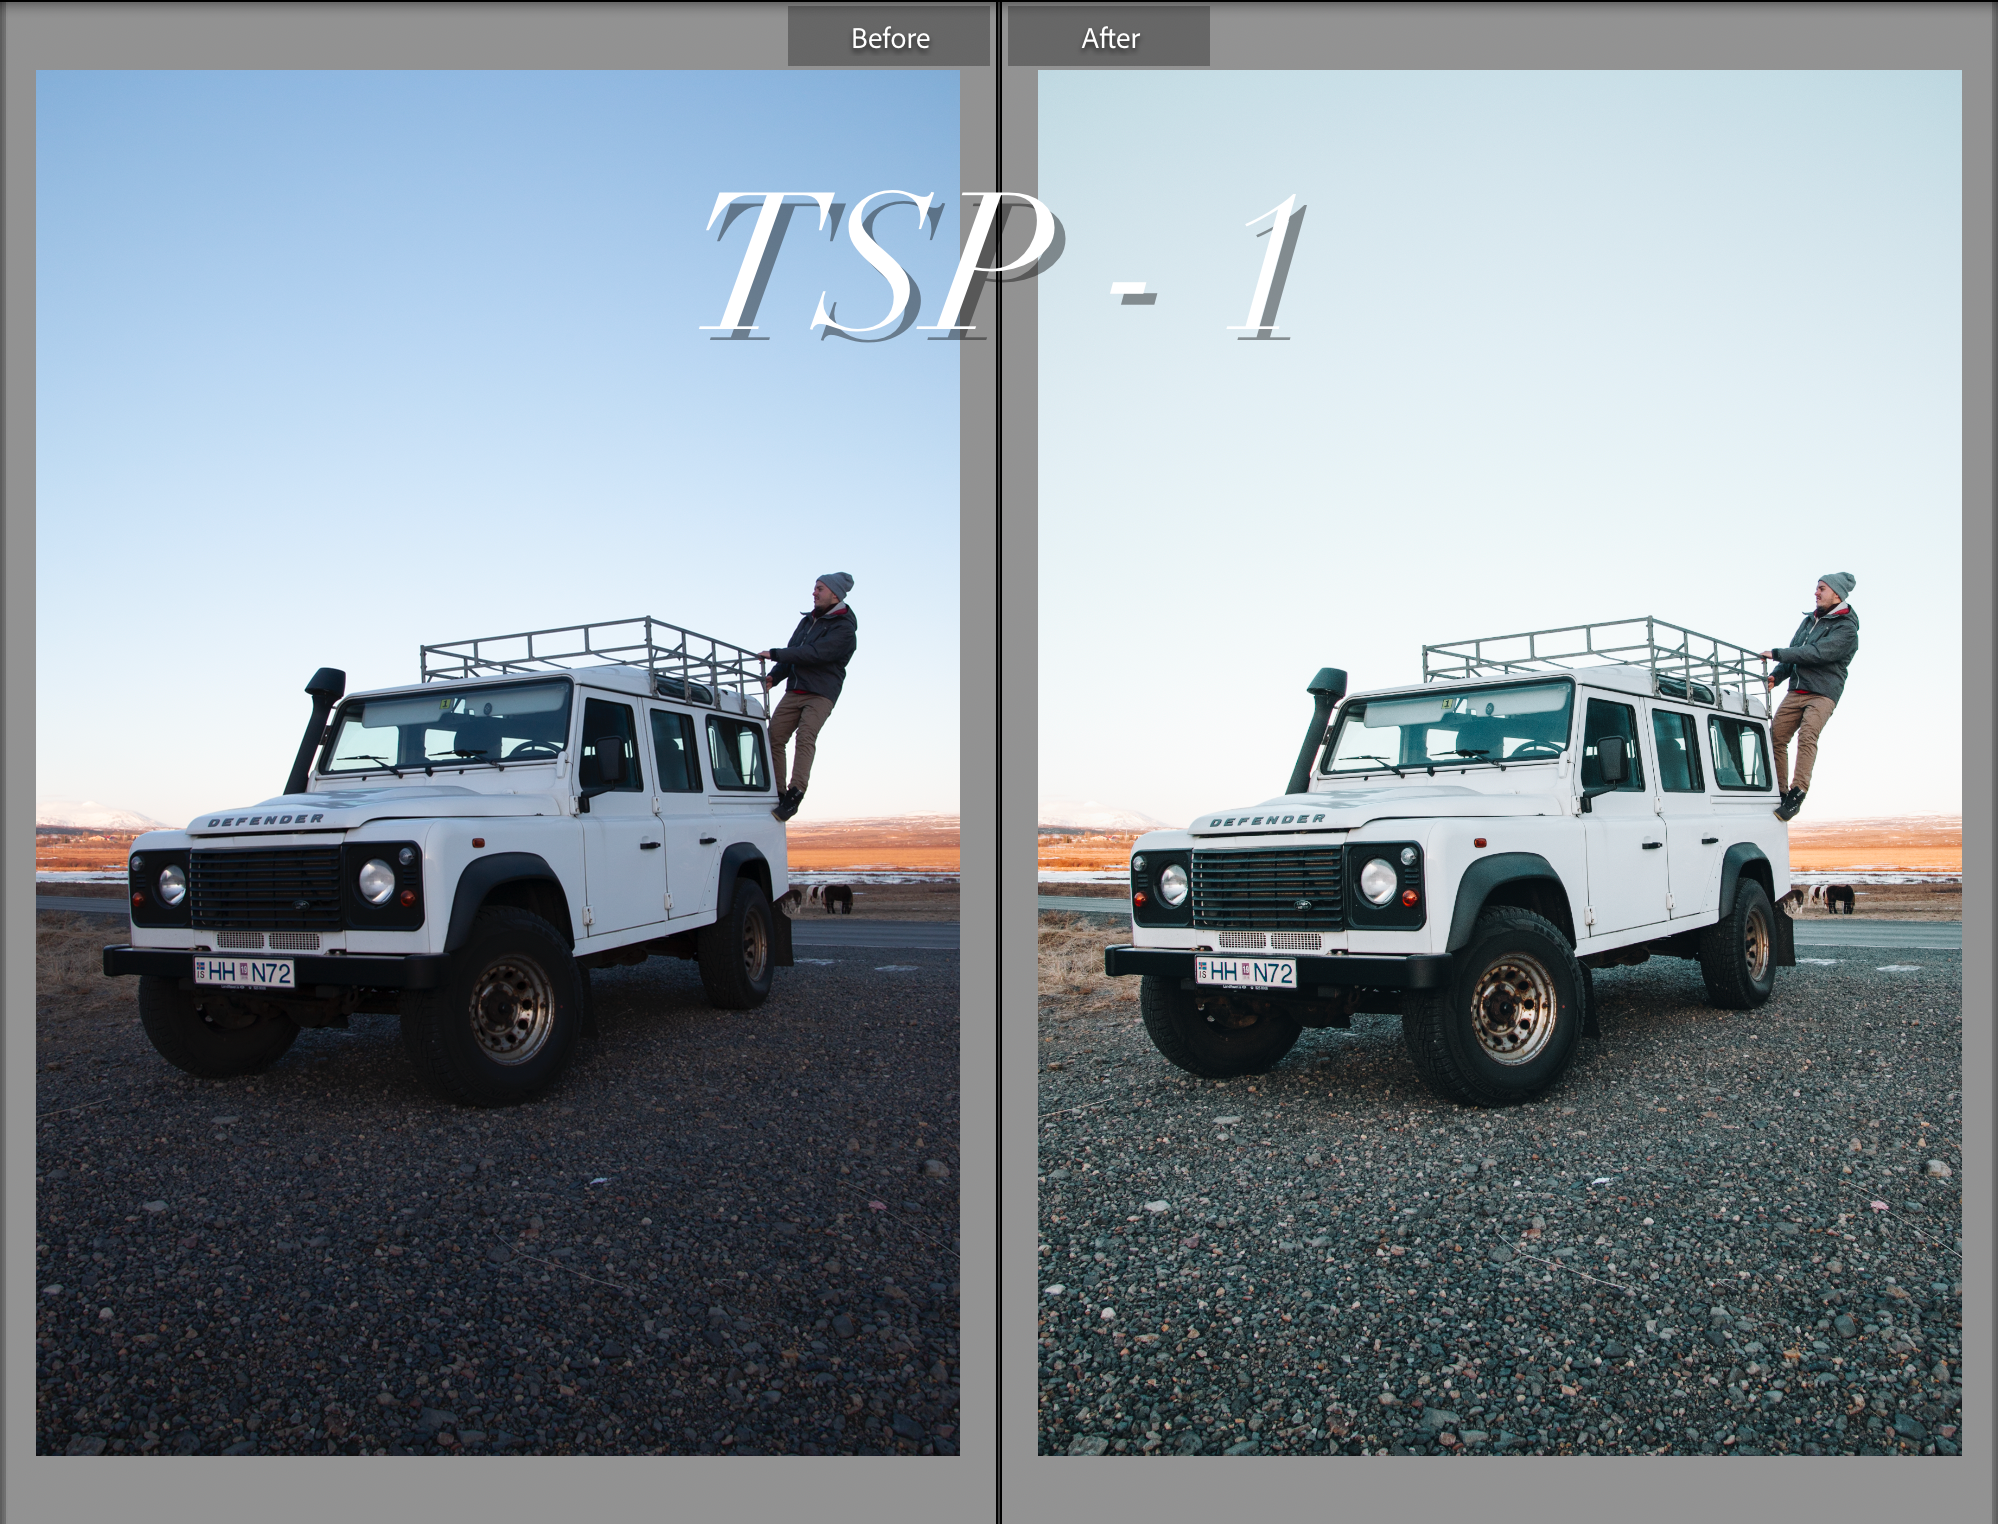
TSP - 1
TSP - 2
TSP - 3
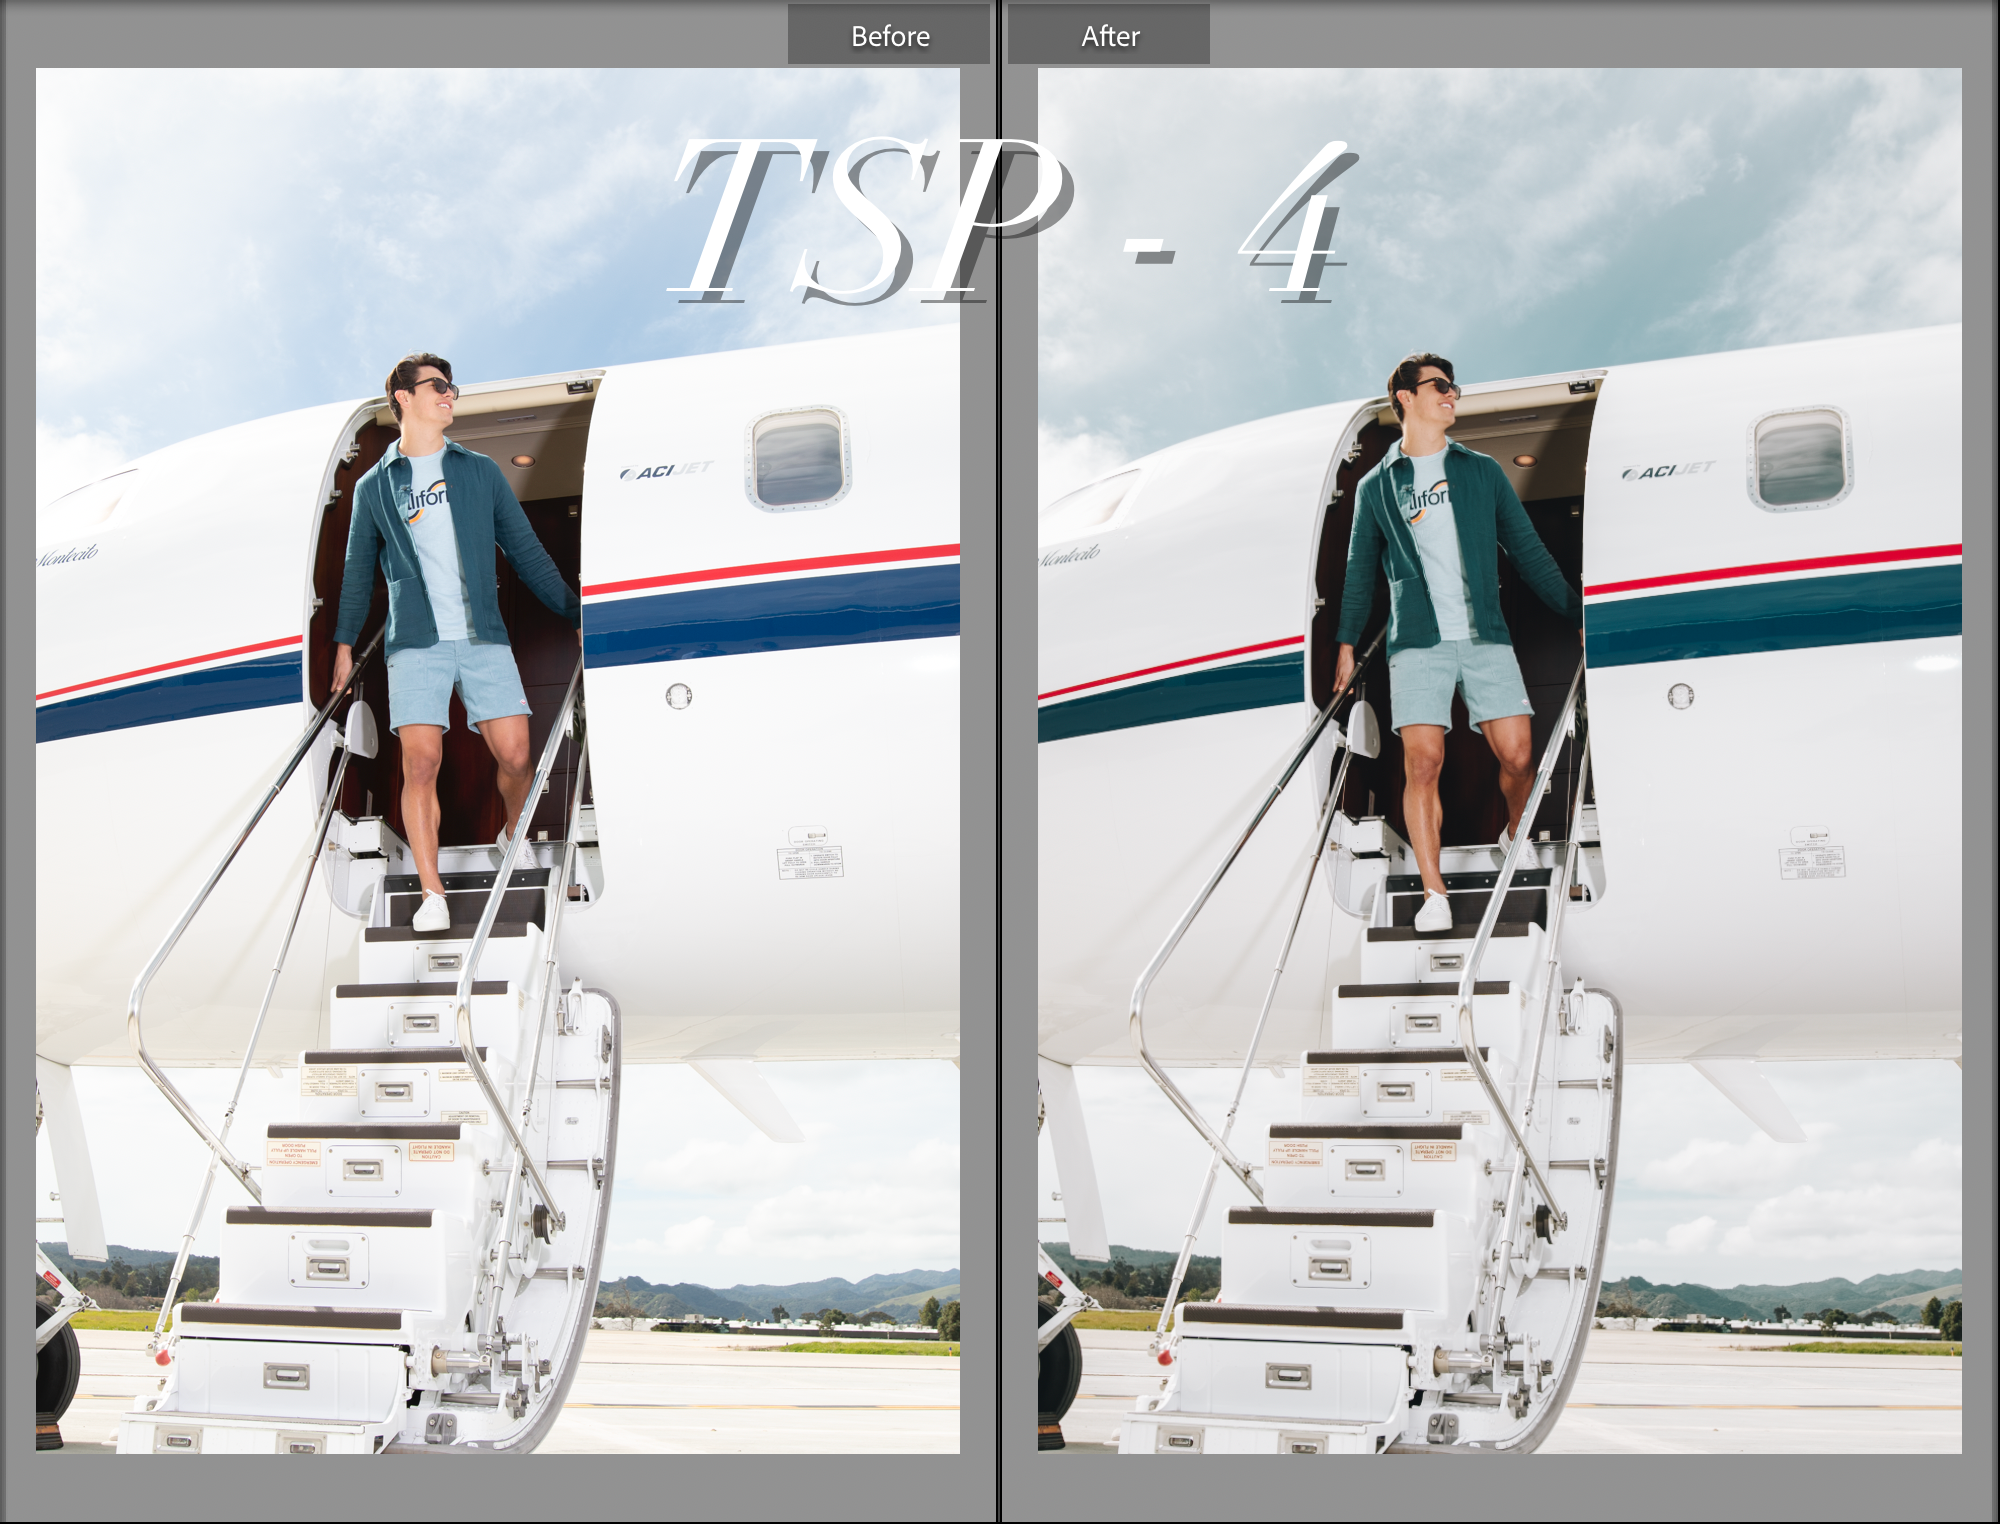
TSP - 4
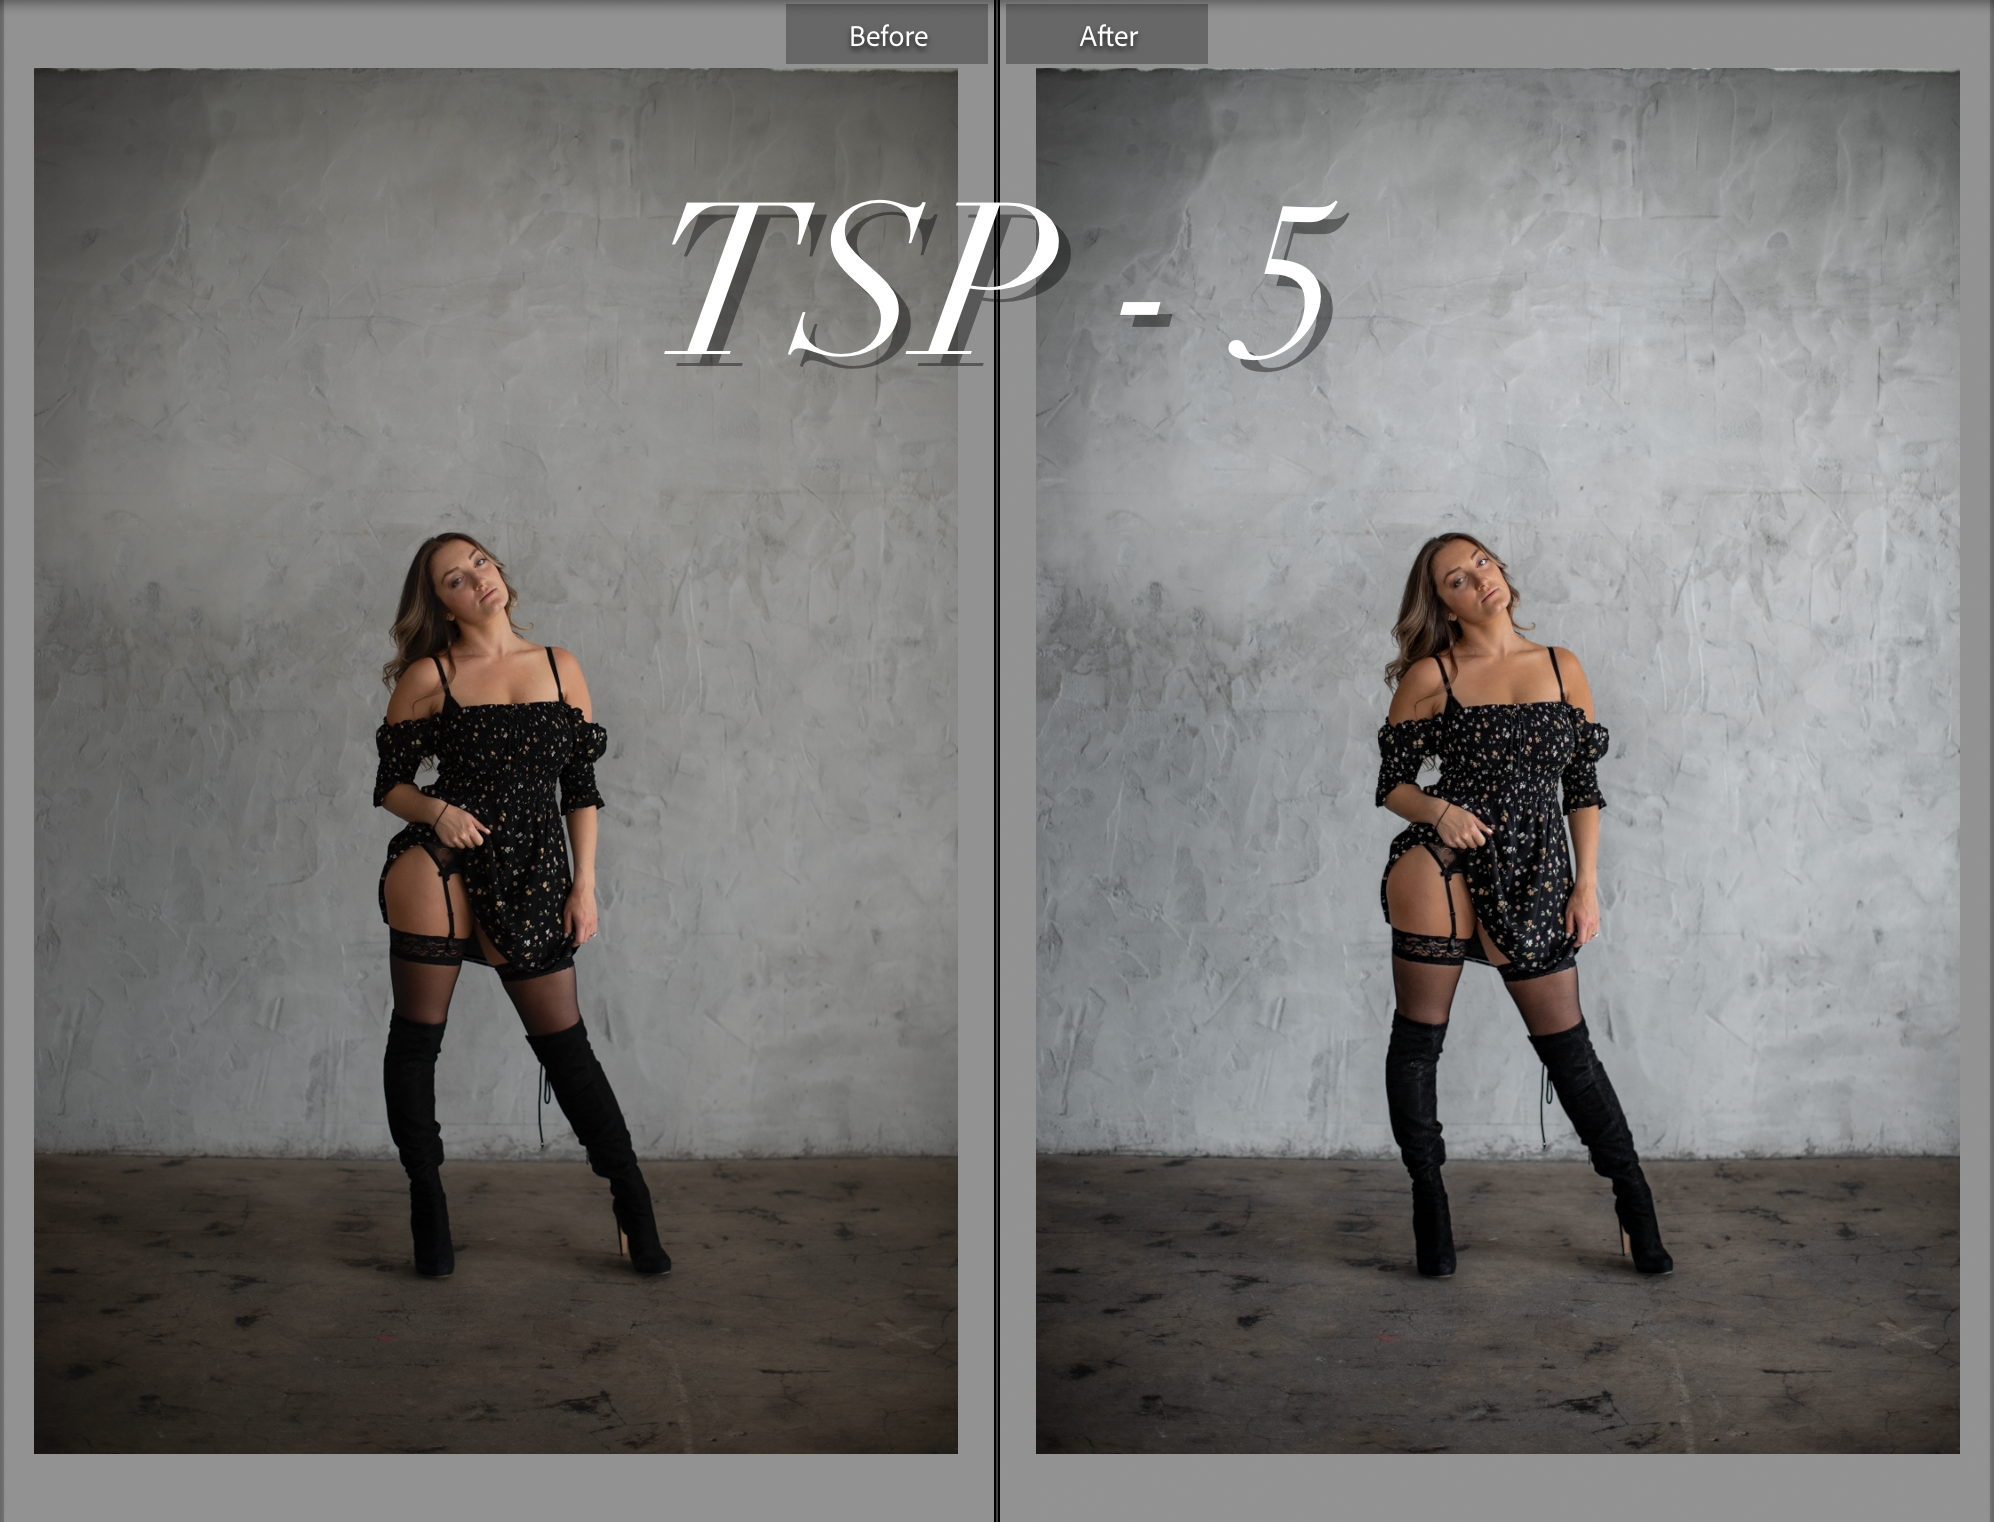
TSP - 5
TSP - 6
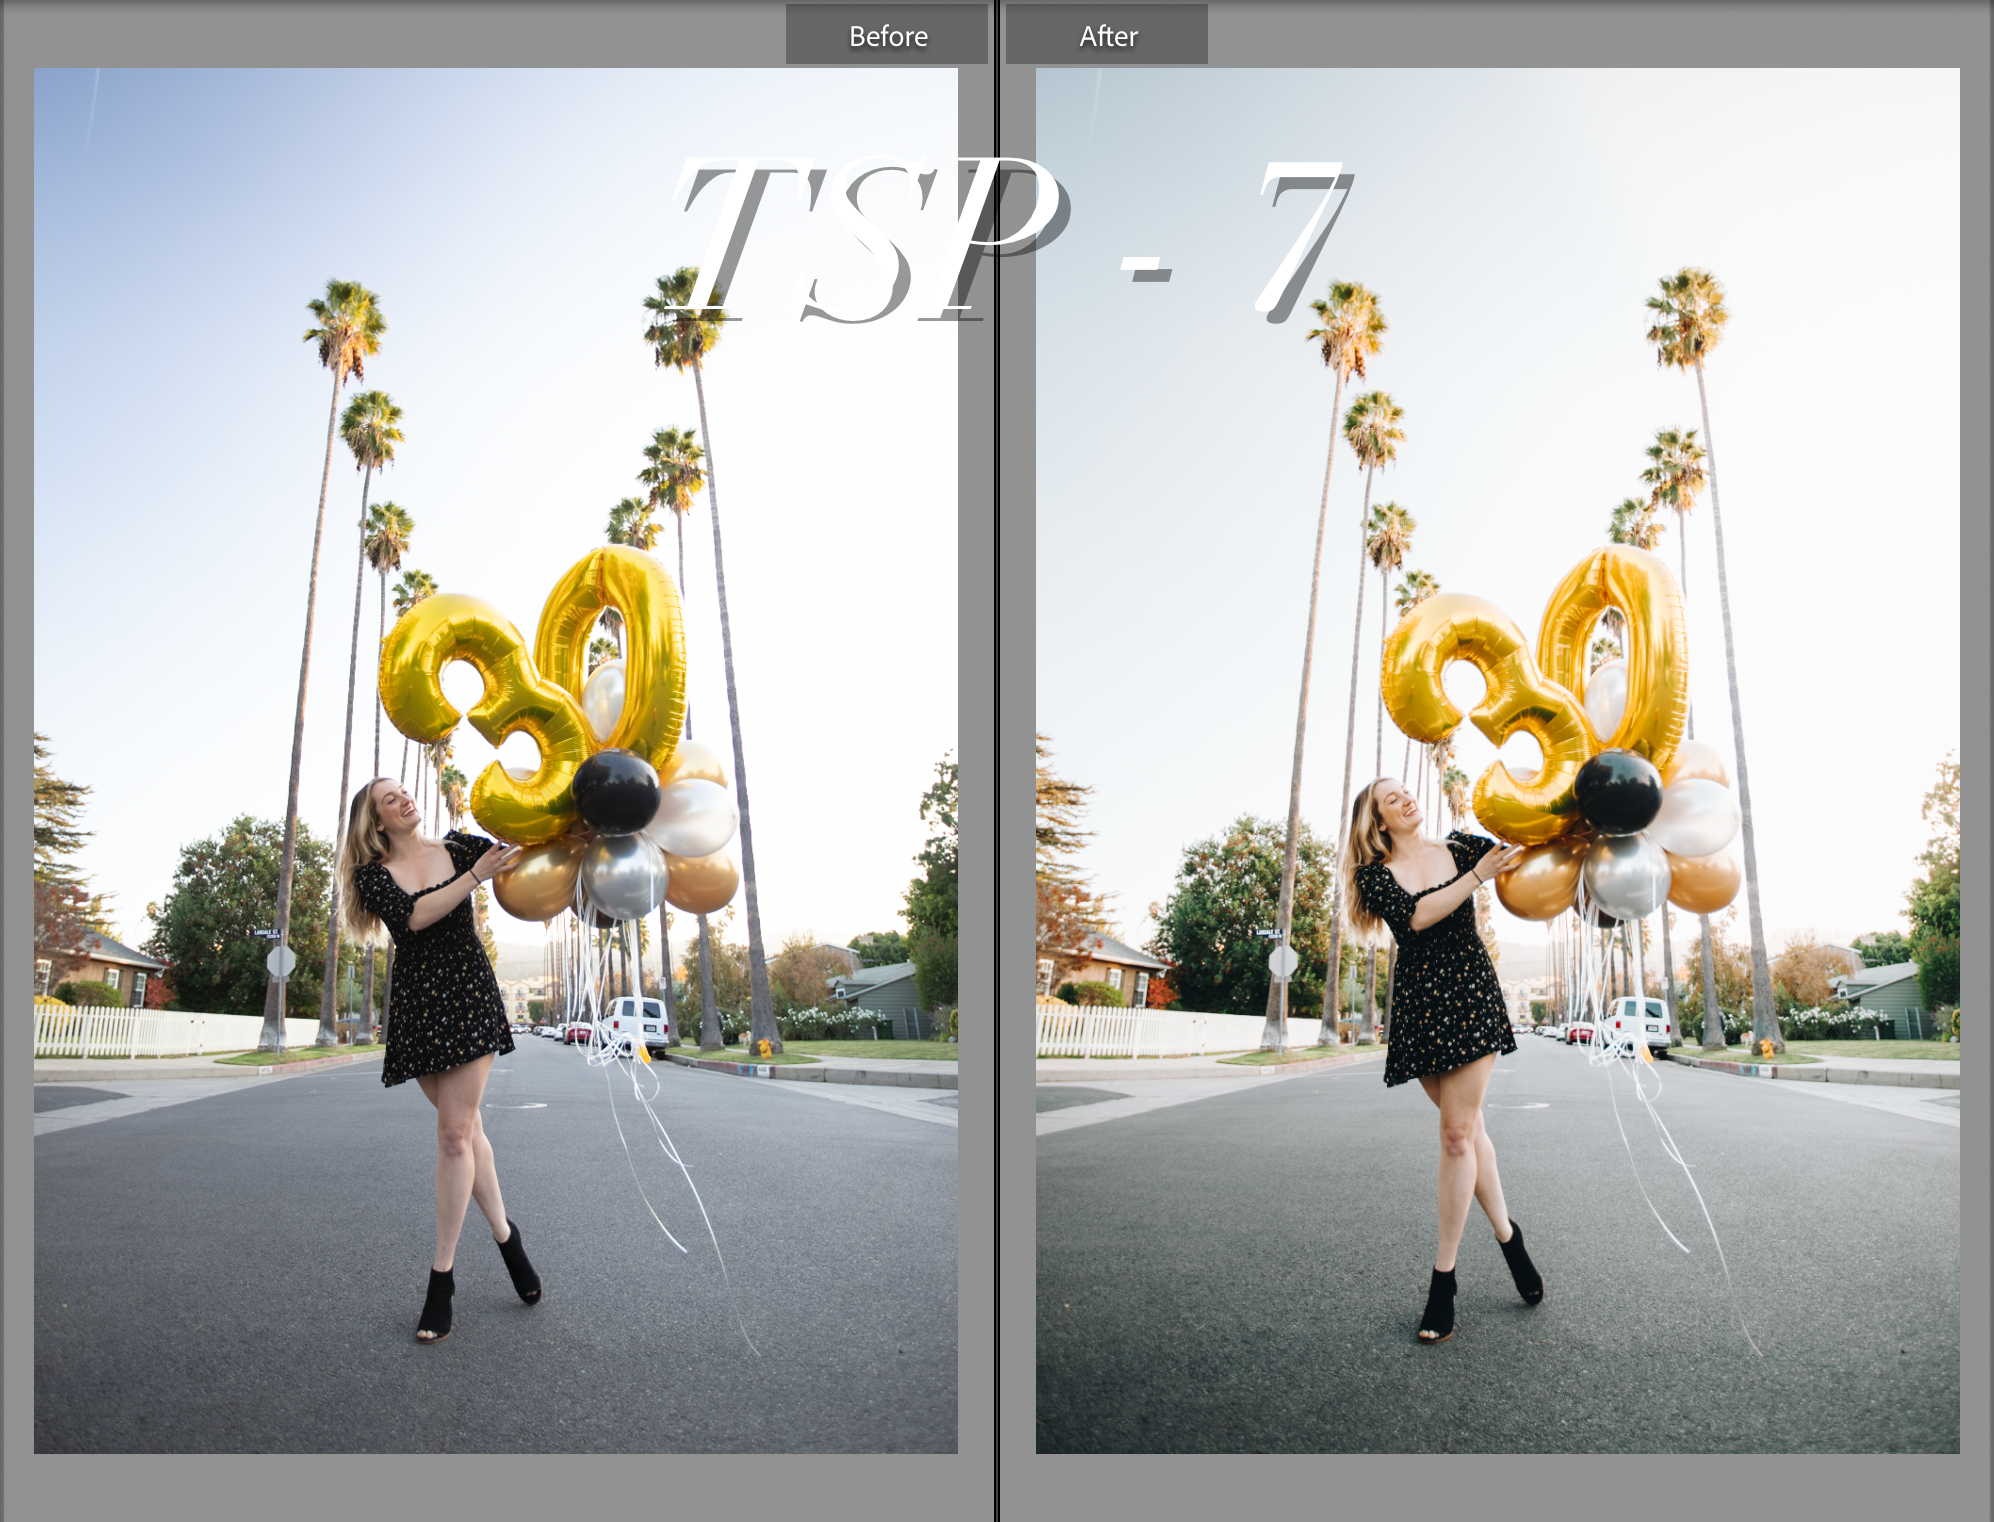
TSP - 7
TSP - 8
TSP - 9
TSP - 10
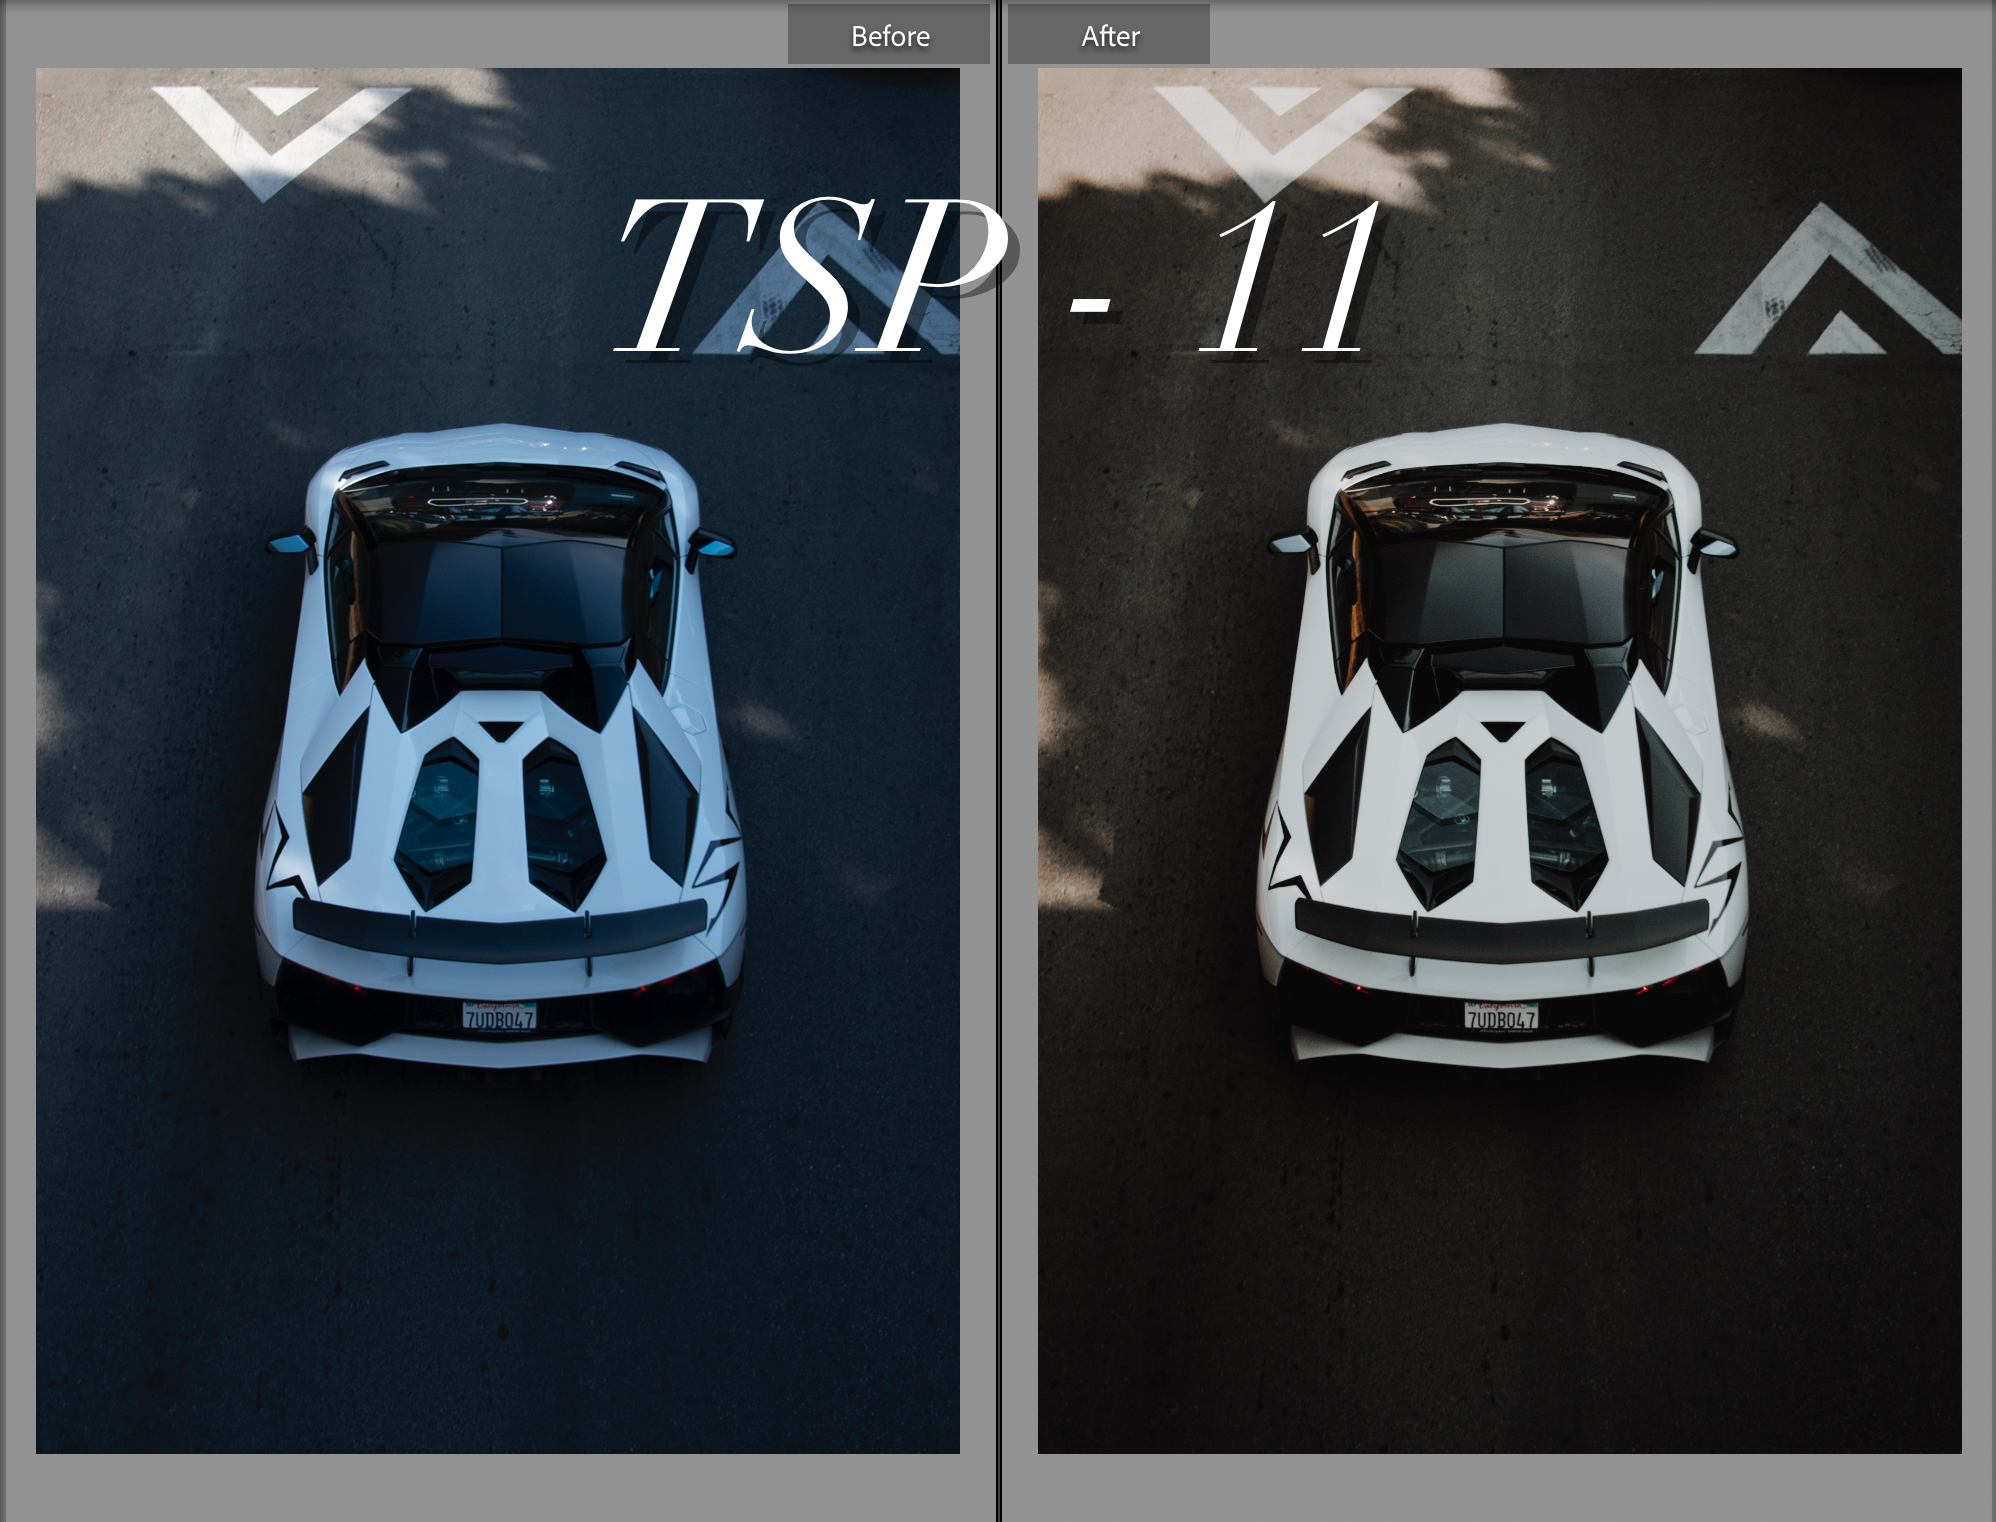
TSP - 11
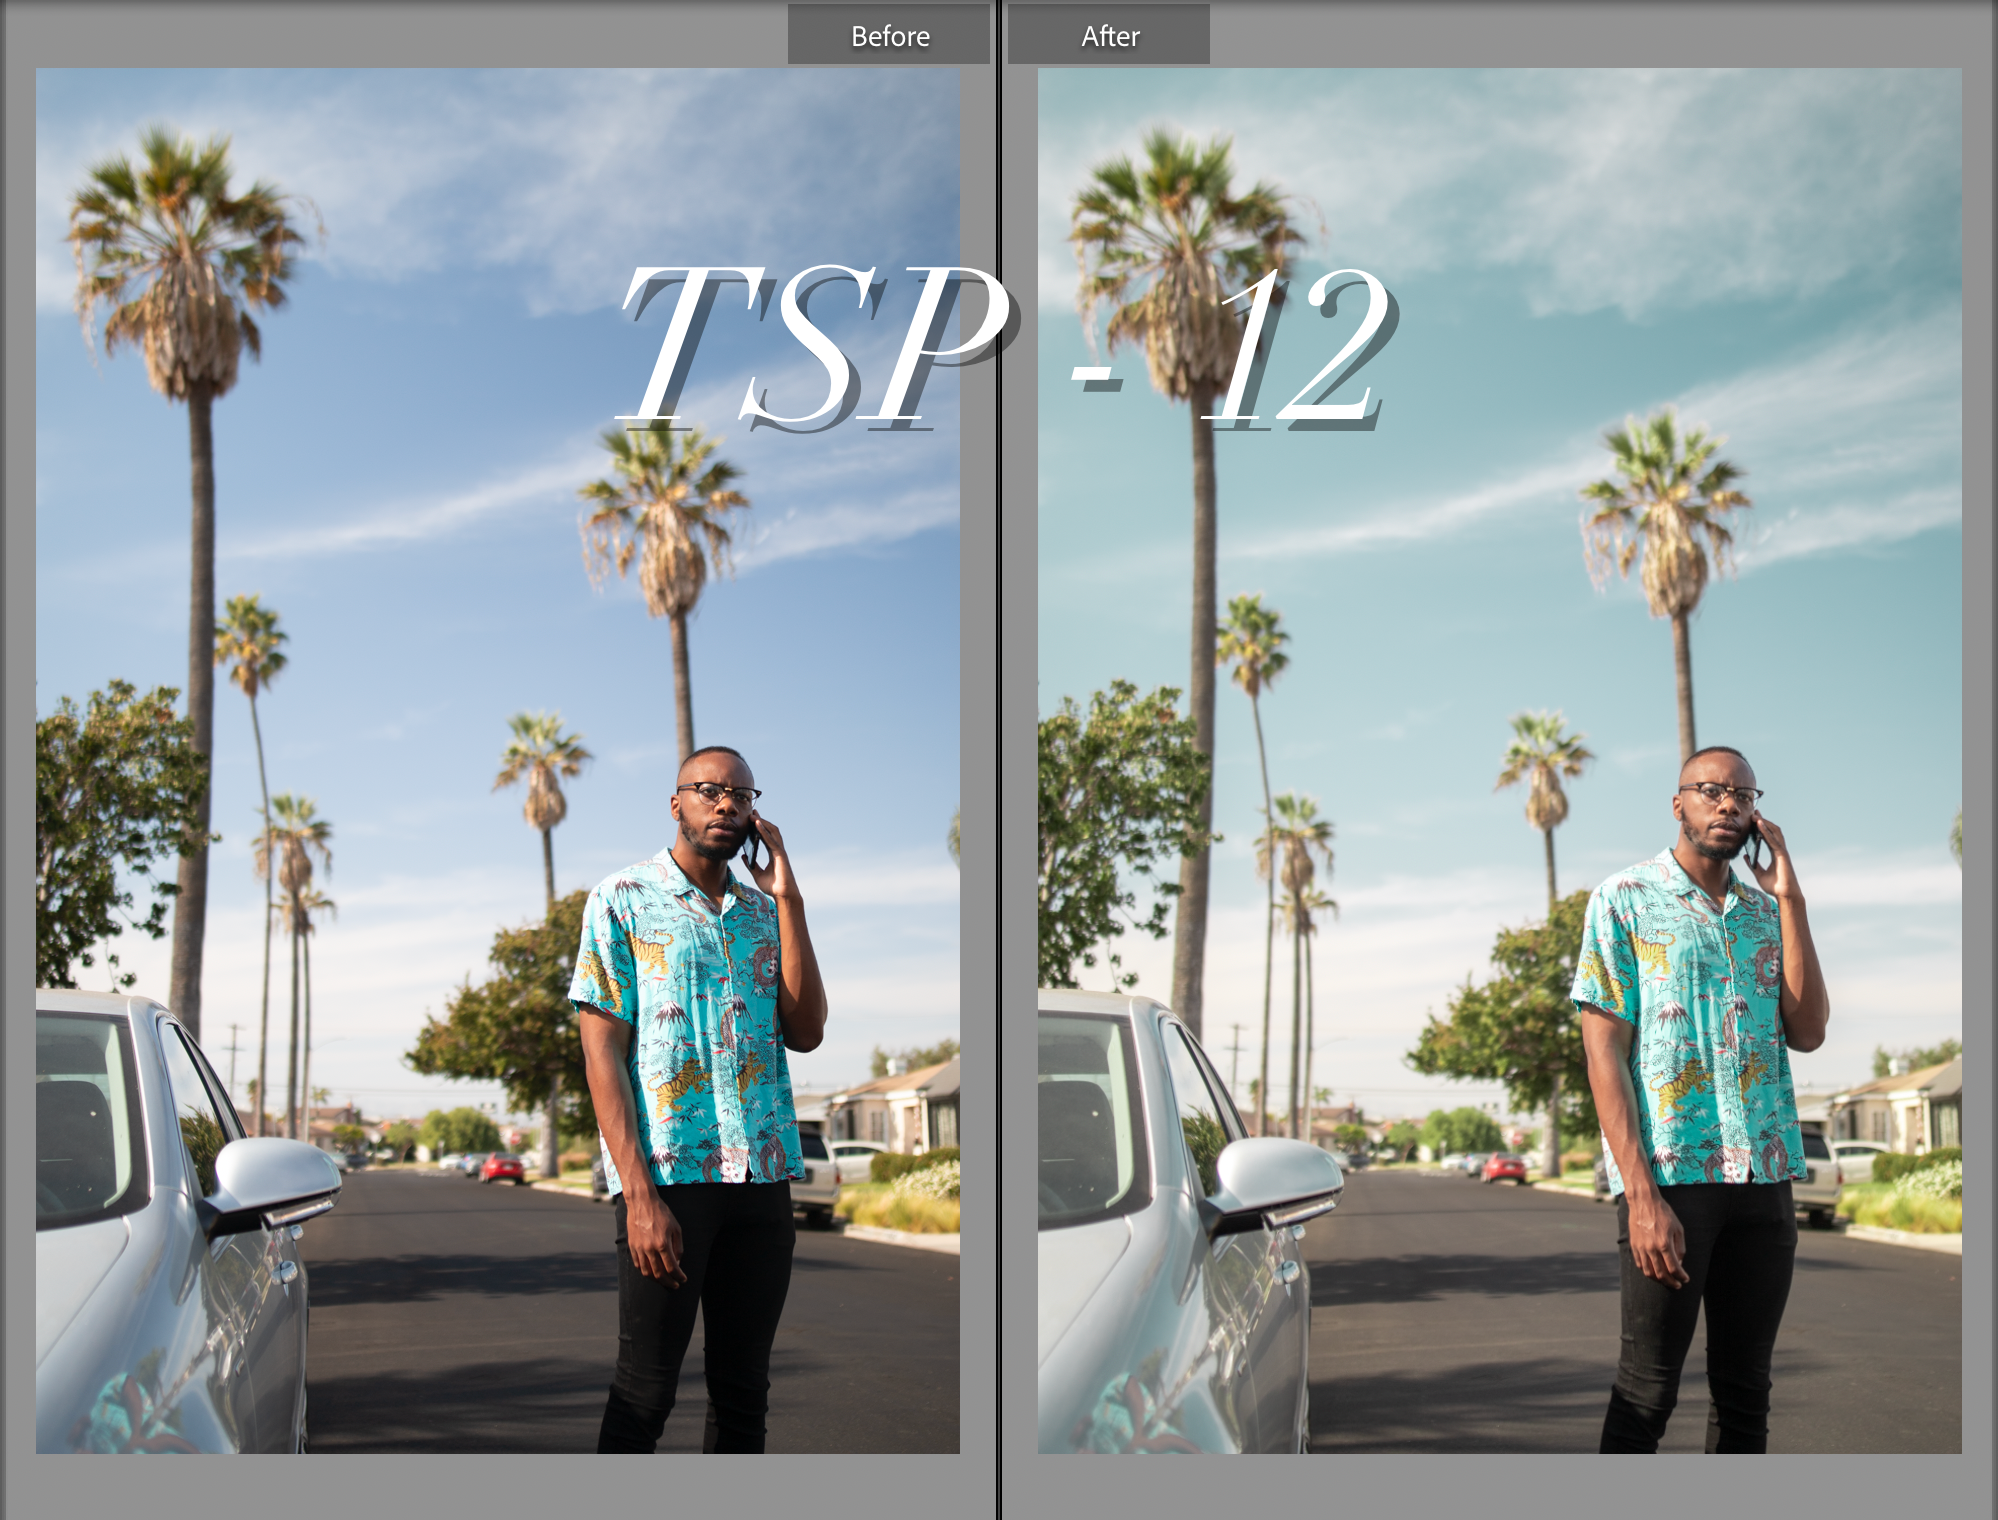
TSP - 12
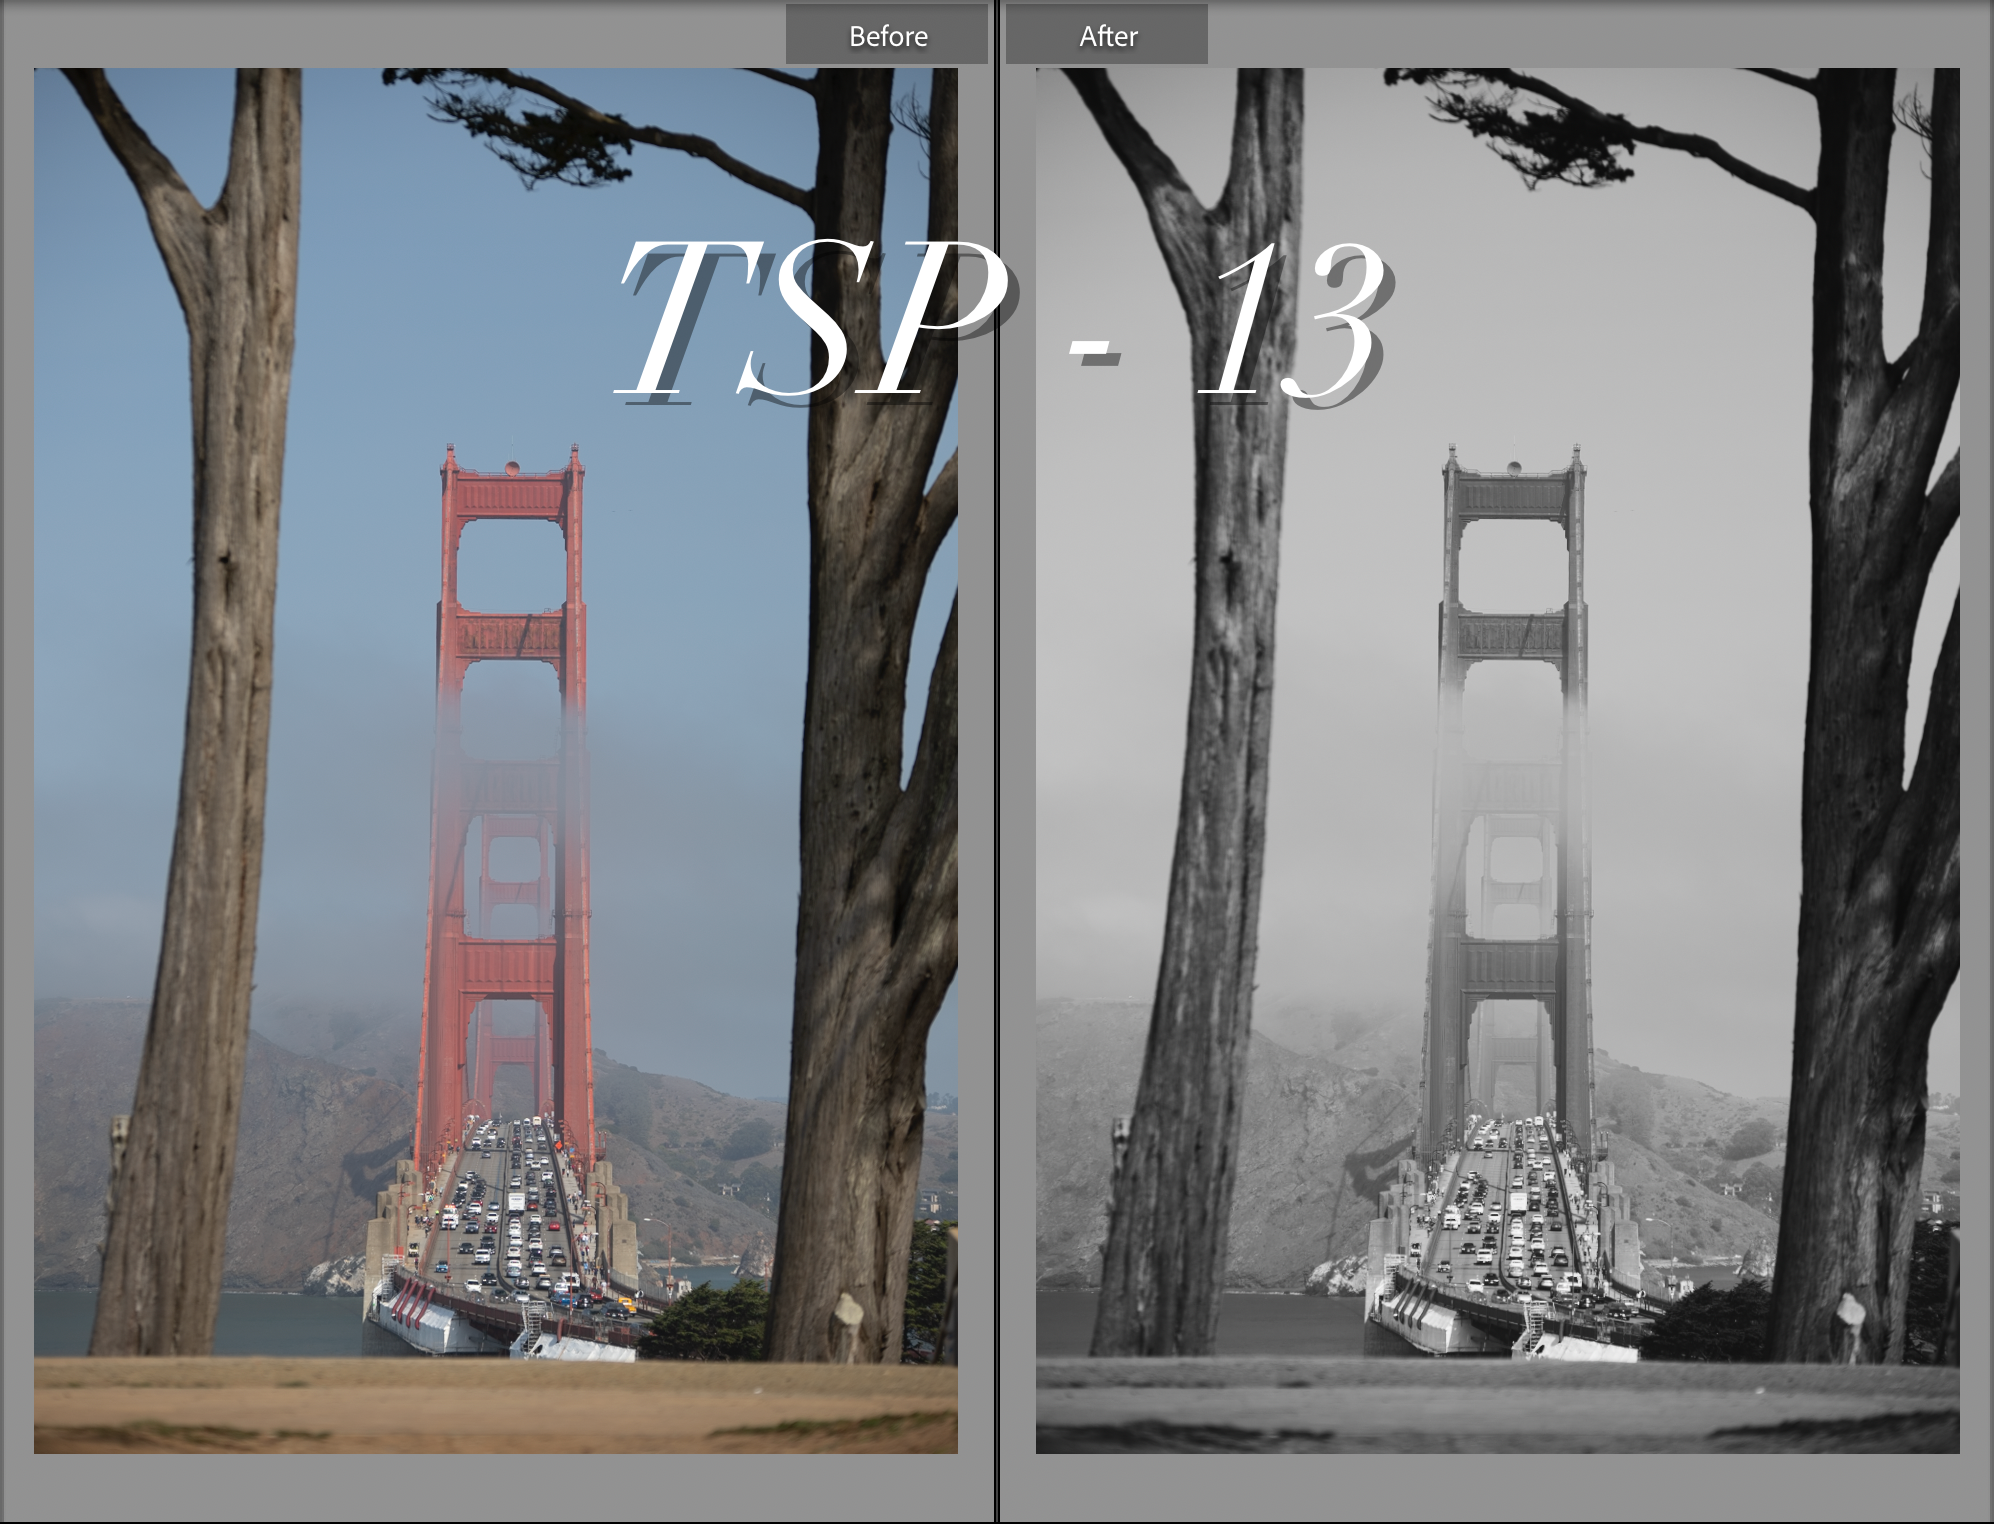
TSP - 13


